

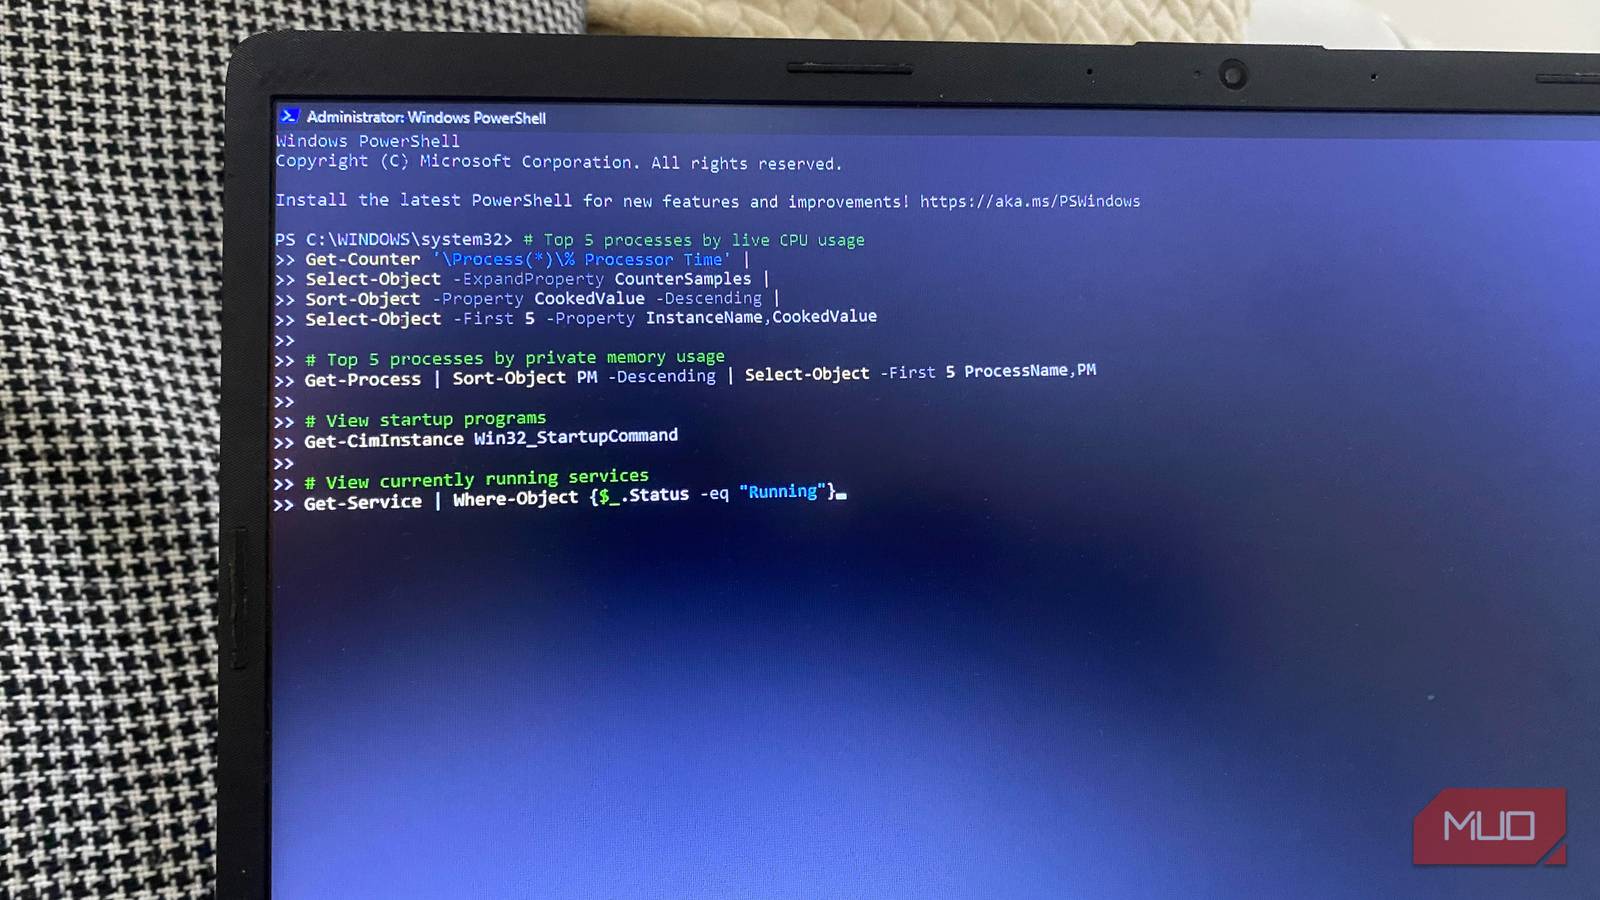
A lot of useful diagnostics remain buried behind submenus, and I sometimes open different settings pages and still struggle to find the information I need. But by leaning more on using Windows PowerShell when something crashes, slows down, or feels off, I no longer wade through menus that Microsoft constantly updates. These commands cover the most useful alternatives to traditional menus. I troubleshoot faster than I used to.
Get-EventLog
The command that replaces Event Viewer’s endless scroll

Windows doesn’t always give you enough information when something goes wrong. You may get messages like: “Your PC ran into a problem” or “The application stopped responding.” The real detail you need is buried somewhere deep in Event Viewer, but it requires you to first scroll through hundreds of entries. The fix I use is this command:
Get-EventLog -LogName System -EntryType Error -Newest 20
It returns the 20 most recent system log errors. For each error, it includes a Source, Event ID, timestamp, and message. While no single error gives a conclusive answer, I look for repeats and patterns around the time I encountered the problem. Last month, after my computer restarted on its own, this command pointed me to a Kernel-Power event around the time of the restart. Even though it didn’t confirm why the power was cut off, it helped me rule out several suspects in 10 seconds.
There’s an even better tool called Get-WinEvent that goes beyond reading classic logs. It digs into newer event channels Windows also generates.
|
Tool |
Best for |
|---|---|
|
Event Viewer |
Manually digging through everything |
|
Get-EventLog |
Fast, targeted checks |
|
Get-WinEvent |
Advanced filtering |
Get-Process
Skip Task Manager and go straight to the culprit

I’ve faced that moment a couple of times when the fan suddenly becomes very loud, and responsiveness starts to lag. Sometimes, when I investigate in Task Manager, all I see is a list of names that aren’t saying much.
Now, instead of squinting at a graph, I sort by CPU with this command:
Get-Process | Sort-Object CPU -Descending | Select-Object -First 10
Running this command lists the 10 processes that have consumed the most CPU time. Don’t get alarmed right away by the high CPU values. The displayed CPU number is the cumulative processor time since the process launched. This is different from the live percentage Task Manager shows you. This command also works for RAM. Just swap CPU for WorkingSet to see the RAM hogs on your device.
Before killing a process, check the name and confirm you need it. Although a background process may look suspicious, it may just be doing what it’s meant to do.
Get-ComputerInfo
One line instead of digging through three different Settings pages
Windows has reorganized the Settings app so many times that I often forget where specific system information lives. In one place, you find the build number, but manufacturer details and the BIOS version may be under a different menu depending on your Windows build. This command puts it all in one spot:
Get-ComputerInfo | Select-Object WindowsProductName, OsBuildNumber, CsManufacturer, CsModel
It’s a handy command I use to check if a fix applies to my computer before I try it. If you need to send this information to someone else, you can pipe it into a file:
Get-ComputerInfo | Out-File system-info.txt
Running Get-ComputerInfo gives you access to about 180 properties. In the example I used, I included WindowsProductName, OsBuildNumber, CsManufacturer, and CsModel, but you can add BiosVersion, OsDisplayVersion, OsInstallDate, CsTotalPhysicalMemory, CsProcessors, and a host of other properties. However, this command doesn’t give you every specialized detail. You may use Get-Tpm and Confirm-SecureBootUEFI to get the TPM version or Secure Boot status.
Get-WindowsDriver
What Device Manager doesn’t tell you at a glance

Screen flickering, unexplained Wi-Fi drops, random unresponsiveness, and several other driver problems can feel like Windows problems. But examining all your drivers from one window can help you spot whether the problem you’re experiencing is actually driver-related. Instead of navigating through the drivers individually in Device Manager, this command brings everything into view:
Get-WindowsDriver -Online -All
It outputs all installed Windows drivers on your computer. For each one, it displays the provider, class, version, and date. Looking through the date and version gives you an idea of how current your driver is. You may even narrow down the list. If I care only about graphics drivers, I run this command:
Get-WindowsDriver -Online -All | Where-Object ClassName -eq "Display"
Don’t assume an old date implies a problem. Even new drivers with the latest date may have bugs that trigger the problem you’re experiencing. The date is more of a clue than a conclusion.
Repair-Volume
Scan and repair filesystem errors from PowerShell

I’ve seen several people download random PC repair tools because a file won’t open, apps crash, or Windows throws disk errors. What you may need is to repair the volume. Here’s the command I use, substituting “C” for my actual drive letter:
Repair-Volume -DriveLetter C -Scan
Depending on how serious the problem is, I may run any of these modes:
|
Command |
Purpose |
|---|---|
|
-Scan |
Checks the volume, changes nothing |
|
-SpotFix |
Fixes what it finds, fairly quickly |
|
-OfflineScanAndFix |
Deeper repair, requires taking the volume offline |
This is an alternate interface to chkdsk that serves the same purpose. It won’t bring your dying drive back to life, but it comes in handy if there are filesystem issues.
While using these commands doesn’t automatically make you a power user, they provide answers that Windows menus don’t always readily deliver. Many of these are one-liners you can easily memorize or keep in a file for when you need them.
Most importantly, they’ll make you rely far less on troubleshooting or settings menus in Windows 11.
